
Integrations
Webex Integration
Introduction
This guide explains how to set up an integration between Cisco Webex and SpeechMind. The goal is for your Webex meeting recordings to be automatically imported into SpeechMind and logged there, without any manual uploads.
Table of Contents
- Where you are in the software
- Adding and configuring an integration
- Webex authentication
- Automatic Import of Webex Recordings
- Viewing transcripts
- Removing an app
- Summary
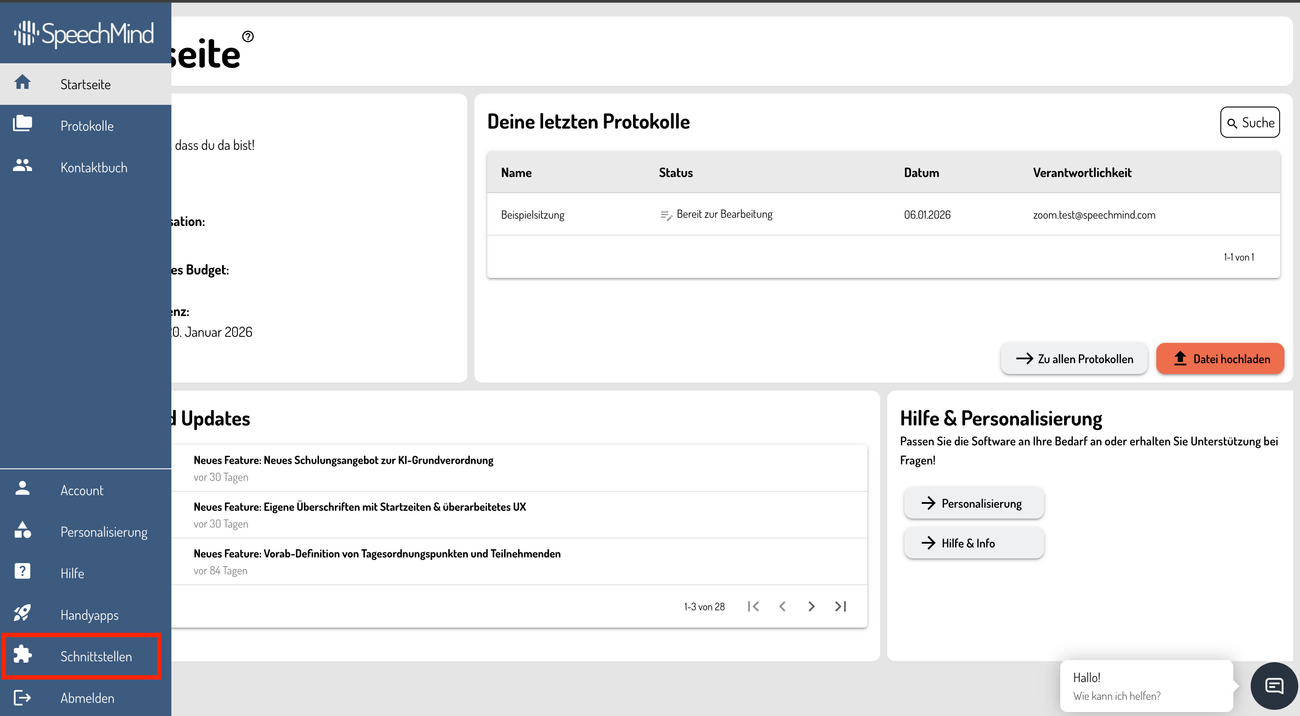
1. Where You Are in the Software
You start on the SpeechMind home page. In the left-hand menu bar, you will find a puzzle icon. Click on this icon to access the integrations.
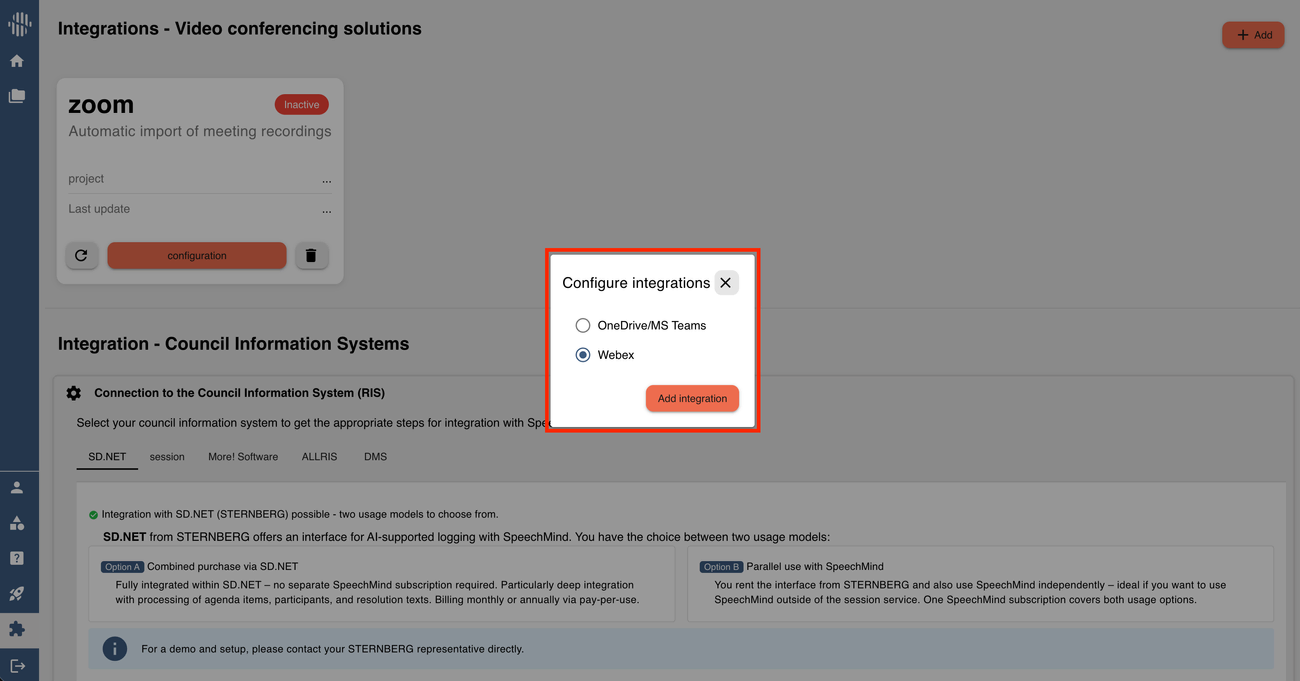
2. Adding and Configuring an Integration
- Click on the “Add” icon (Hinzufügen)
- Select the Webex integration
- Click “Create” (Integration hinzufügen)
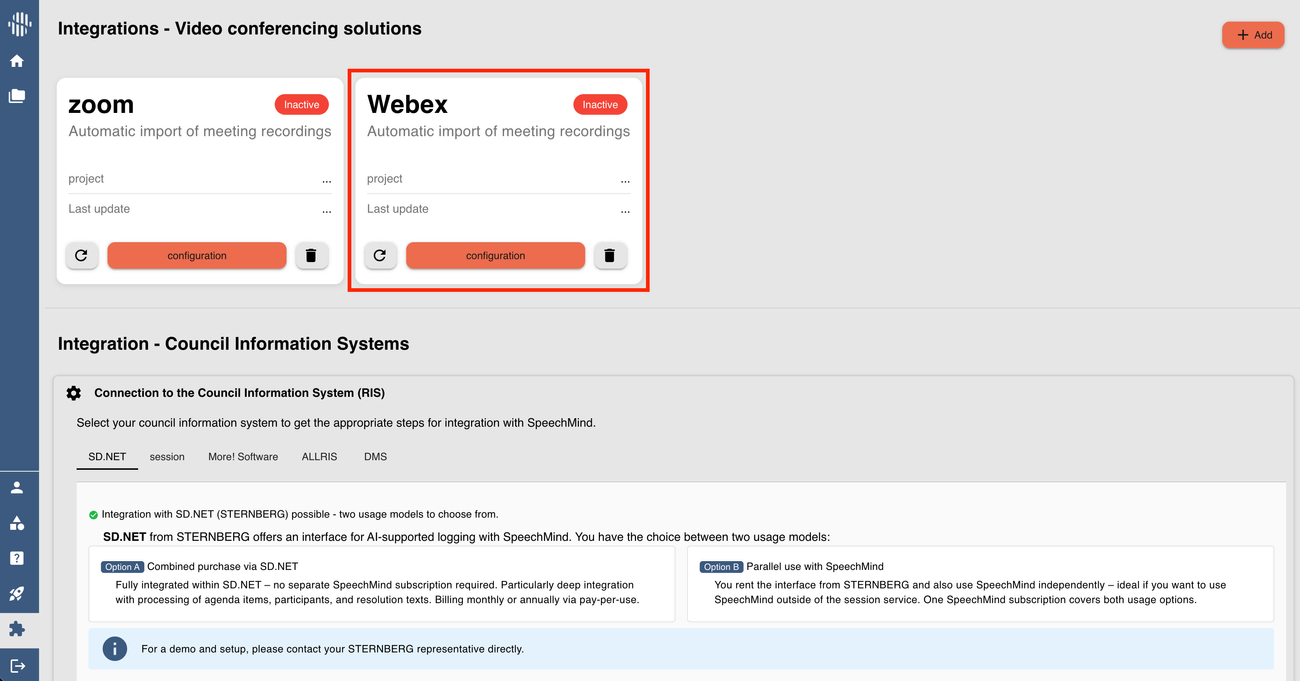
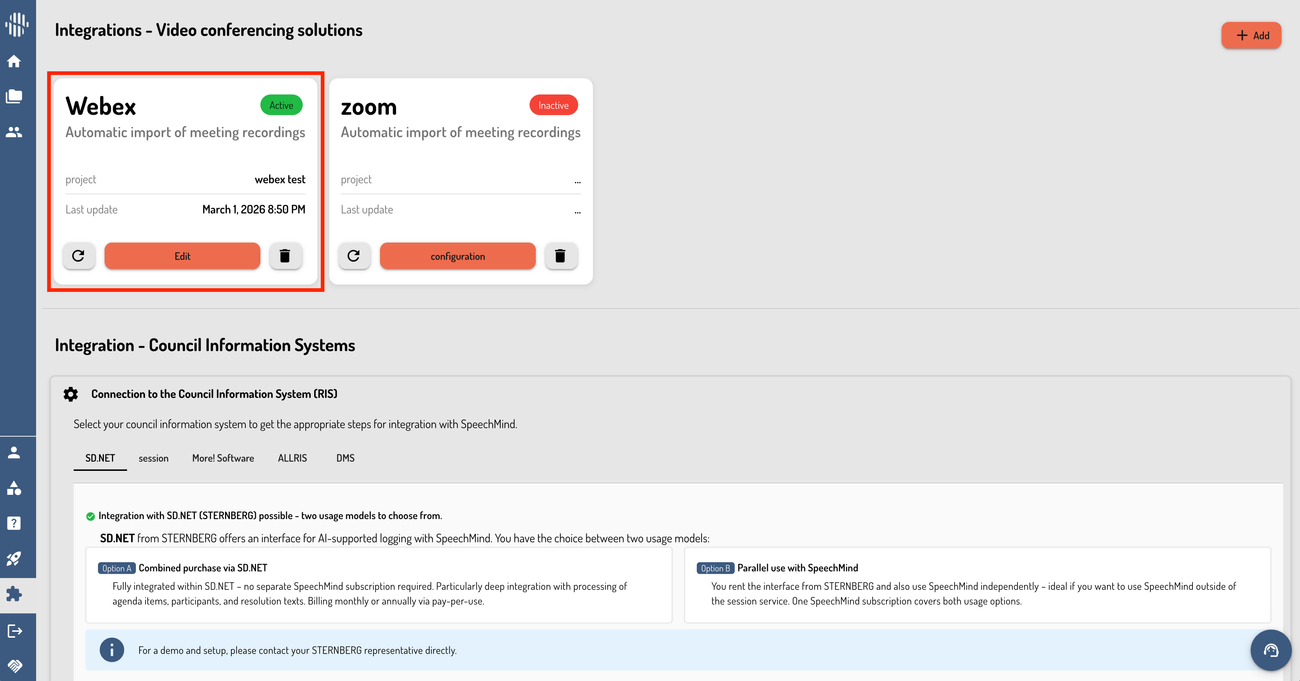
- The integration will now appear but is not yet configured (Status is Inactiv).
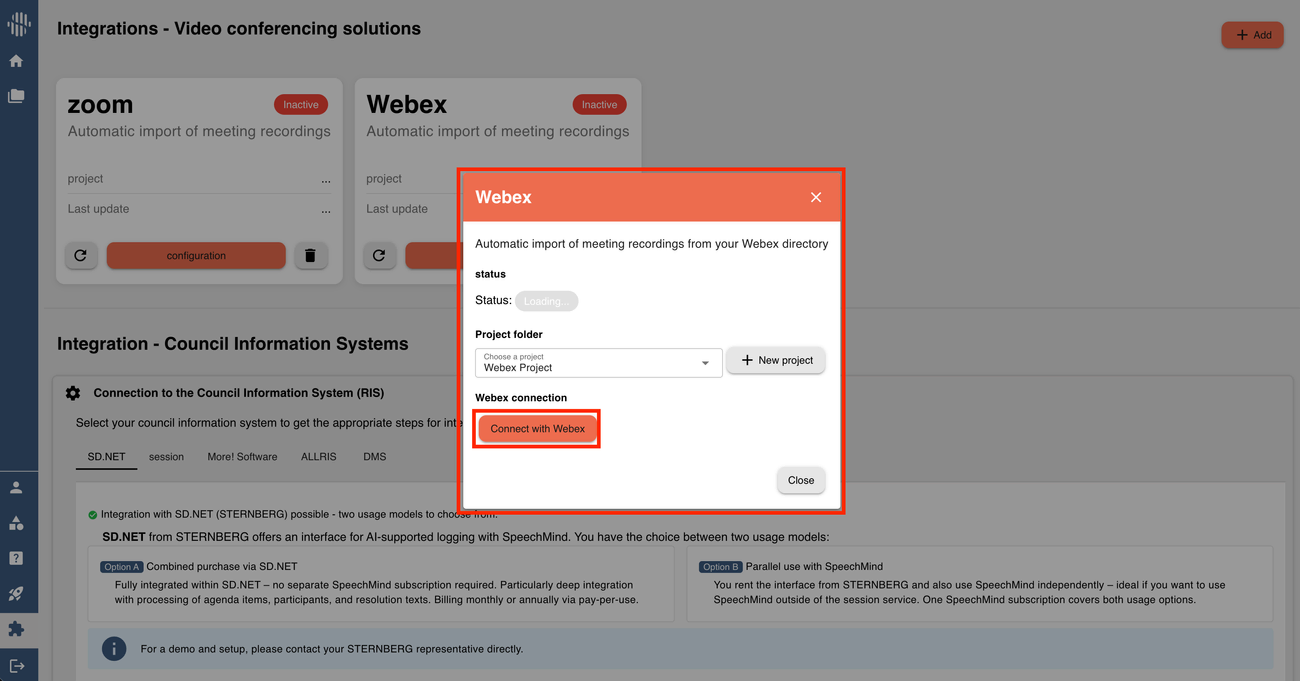
- Click “Configure” / “Konfiguration”
- A pop-up window for authentication will open
- Select the project in which AI transcripts of Webex recorded meeting will be stored
- If you don’t have a project, click on “Neues Projekt” and create a new one
- Click on Mit Webex verbinden
 ---
---
3. Webex Authentication
- You will be redirected to Cisco Webex for login
- Speechmind asks for permissions to access Webex data. Click Allow.
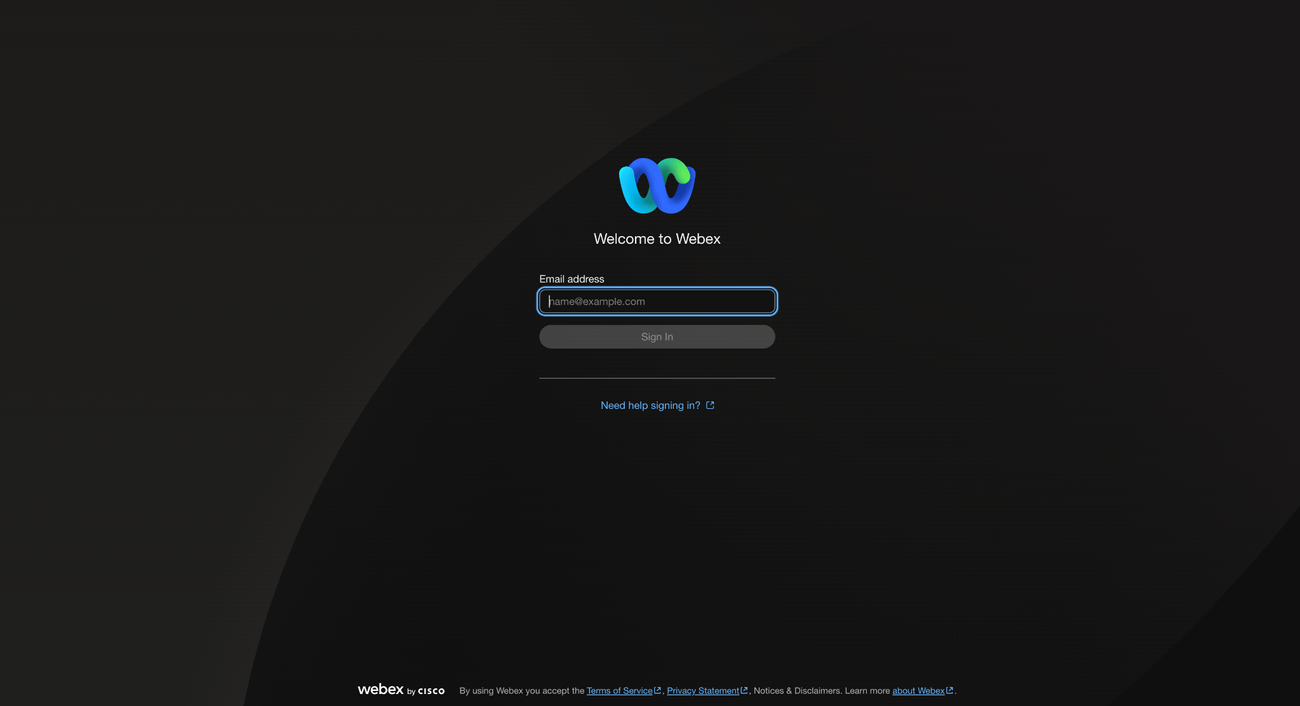
- Upon success, Webex will redirect you back to SpeechMind
💡 Tip: If authentication fails, check your Webex login details or contact your IT administrator.
4. Automatic Import of Webex Recordings
After successful authentication, no further action is required from the user.
Once a Webex meeting is recorded and at least one participant attends the meeting, Webex automatically notifies SpeechMind after the recording becomes available. The recording is then imported and processed automatically.
📌 Note: All Webex meeting recordings are automatically transferred to SpeechMind and logged without any manual steps.
5. Viewing Transcripts
- Go to the “Protokolle” menu.
- In “Letzte Protokolle”, you can see your most recent meeting transcripts.
- You can also open Private Projects and navigate to the project you selected during the Webex integration setup. The corresponding meeting transcripts will be available there as well.
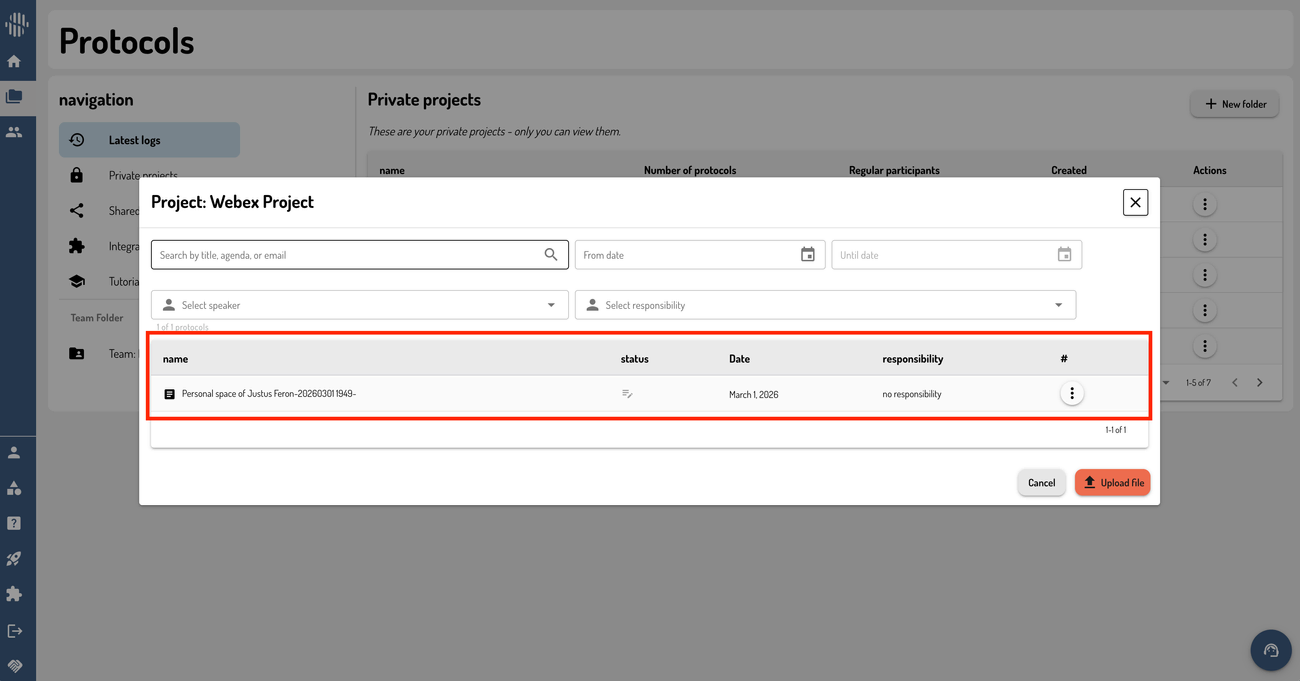
📌 Note: Future Webex meeting transcripts will appear here automatically. You can also upload files manually if needed.
6. Removing an App
To remove the Webex integration:
- Go to your Webex integrations in SpeechMind.
- Click the Delete button next to the Webex integration.
- You will be redirected to the Cisco Webex Developer Portal, where you can see the installed application.
- From there, remove the installed application.
📌 Note: When you remove the app, SpeechMind will also automatically remove the Webex integration on the backend.
Summary
- Home page → Left menu → Puzzle icon
- Add Webex integration
- Start configuration → Webex authentication → configured
- Attend any Webex meeting with the recording enabled
- After the meeting is completed, the transcript will appear automatically in the selected project
- The transcript is then available for further processing
Have questions?
Still have questions? Talk to support.